How kitlab works on Shopify
Your customers design their team's jersey in 3D on your store, check out through Shopify as usual, and you get a print file for every player.
1. Connect your store
In your kitlab admin, go to Settings > Store and click Install kitlab. Shopify asks you to approve the app, and kitlab does the rest of the setup for you, including getting your Shopify orders sent to kitlab. One more click adds the designer to your kit product pages. It works with Shopify's current themes, such as Dawn.
2. Your kits become Shopify products
In kitlab you set each kit's price, its sizes and any extras, like shorts and socks. Click Save and kitlab creates the products in your Shopify store for you, with each size as an option. If you give a discount for bigger orders (say 5% off from 20 kits), it's applied automatically in the cart and at checkout.
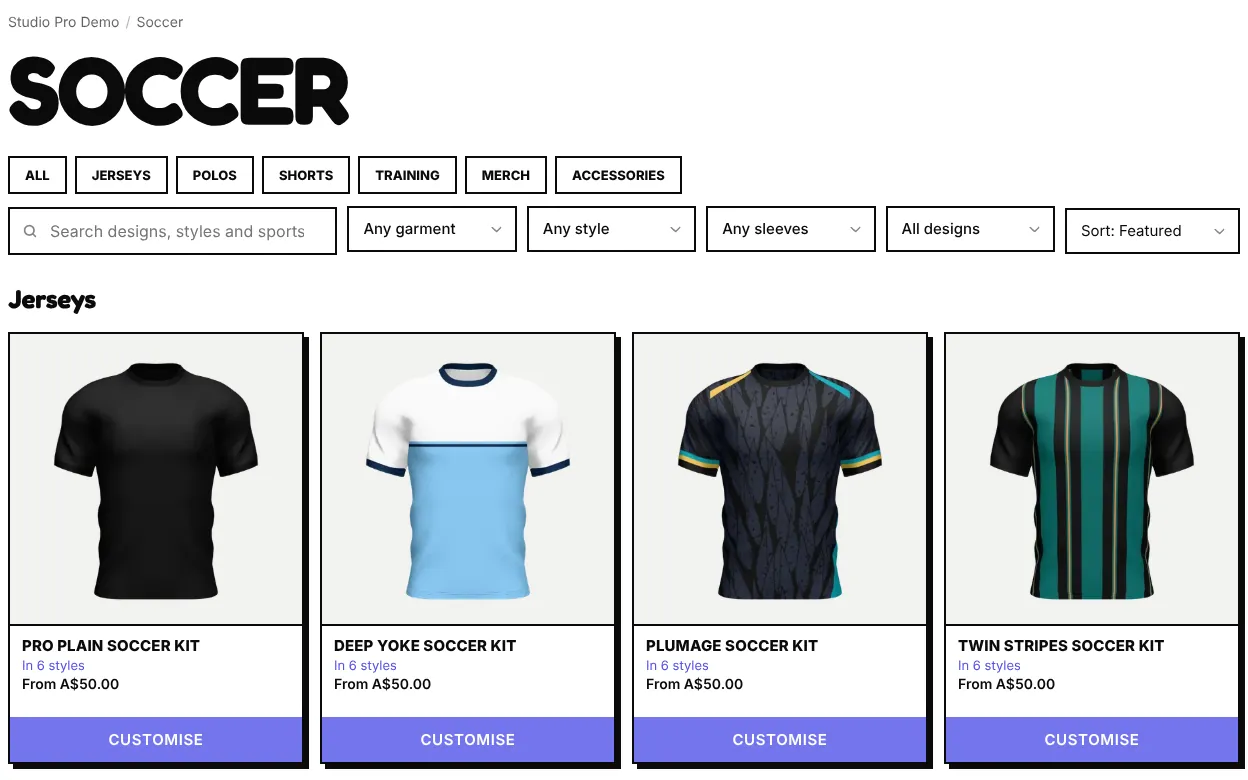
How much of your store kitlab sets up depends on your plan. On Signature, customers choose and design every kit from one page. On Premier, every kit gets its own product page. On Studio Pro, kitlab makes a product page for every design in every style, sorts them into collections customers can filter, and updates them all when you change a price or add a design.
3. The customer designs their kit in 3D
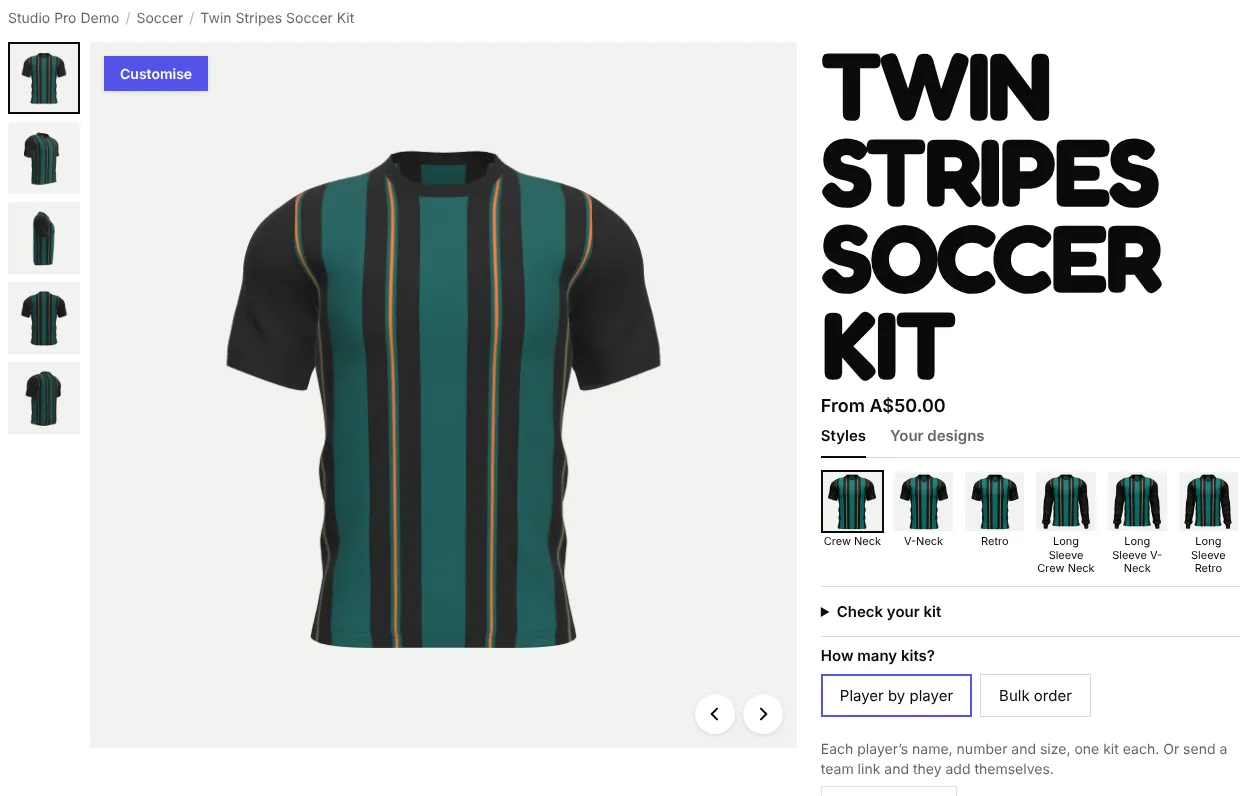
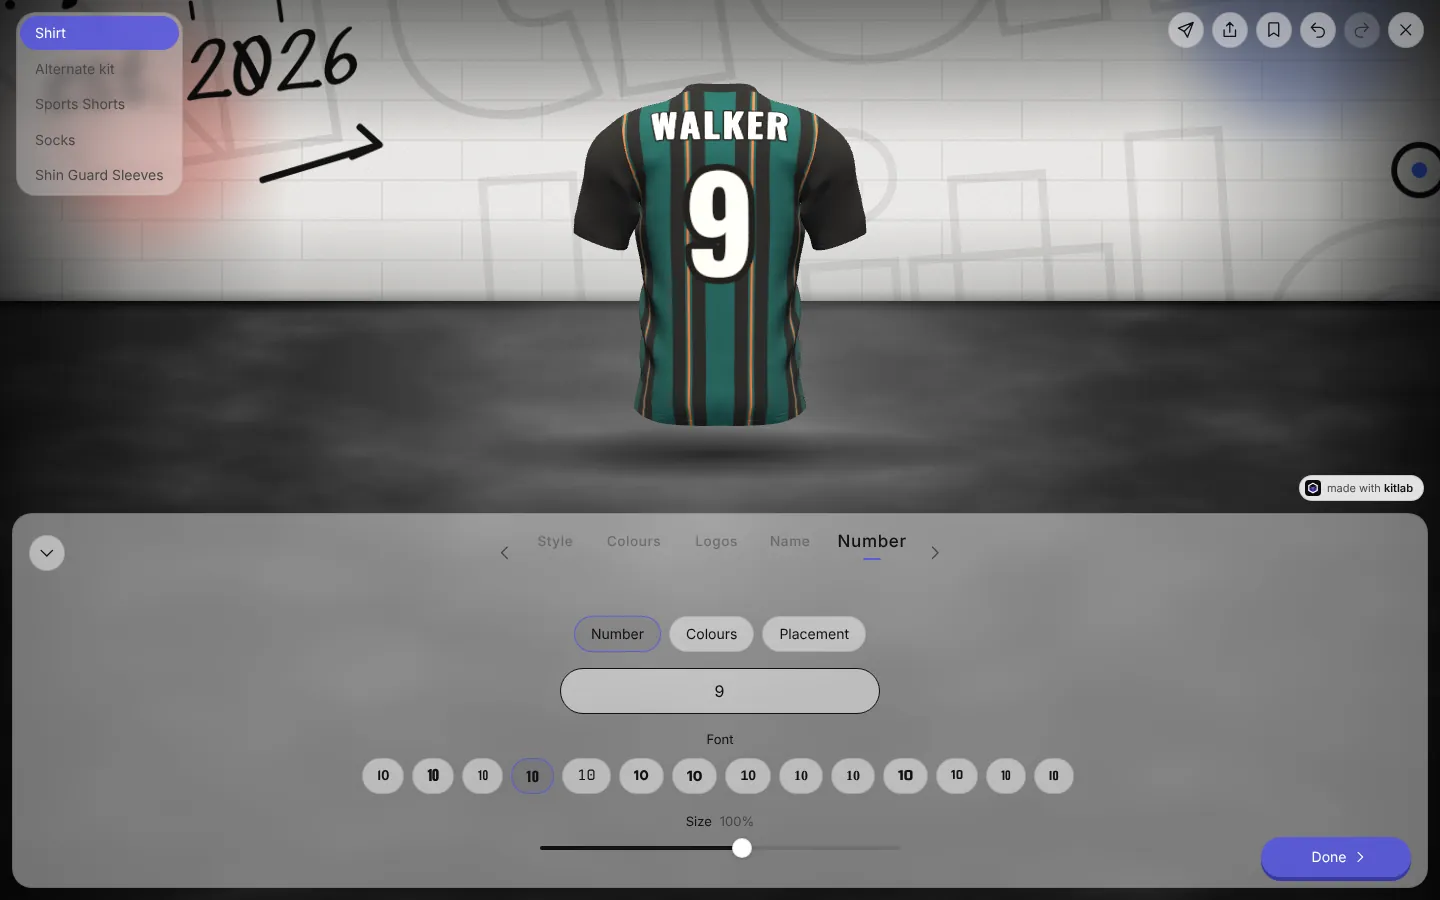
Each kit's product page shows it from five angles, with the different styles beside it. When the customer clicks Customise, the 3D designer opens. They can change the collar and sleeves, every colour, add their club's logo, and put a name and number on the back.
4. The whole team in one order
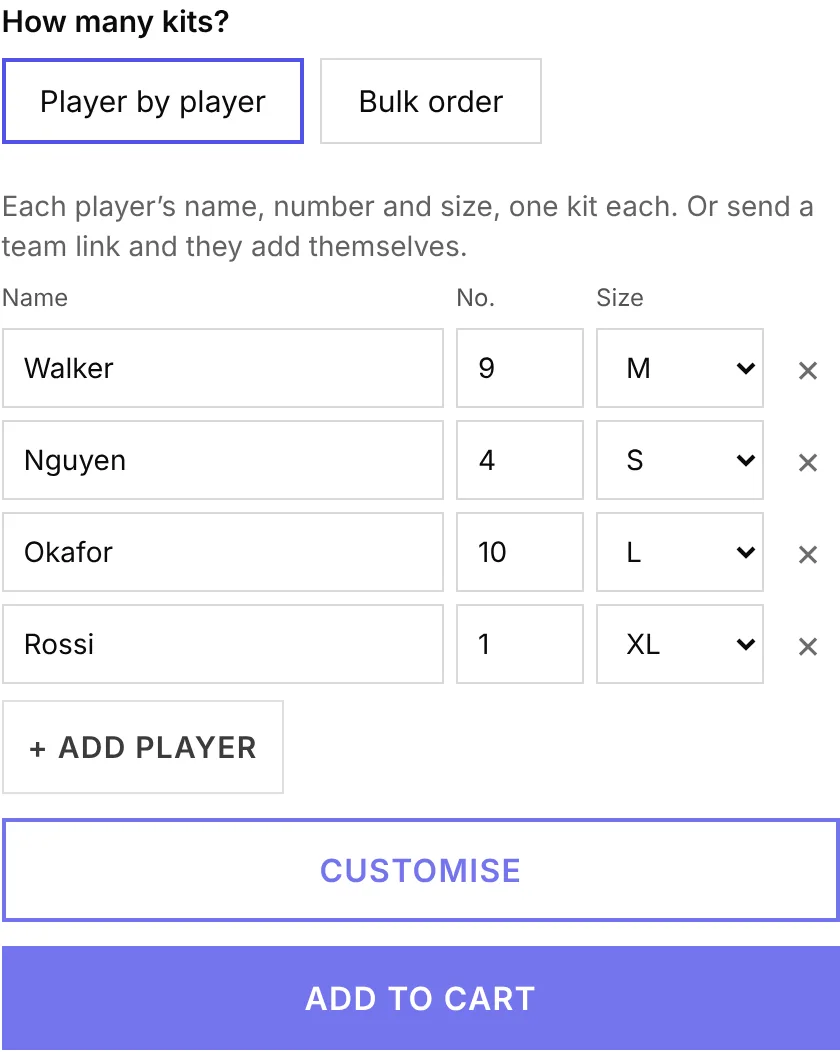
The customer can type in each player's name, number and size, or send the team a link so every player adds their own. If a club only knows how many kits it needs, it can order the number now and send the names later. The price per kit goes down as the order gets bigger, and very large orders can ask you for a quote instead.
5. Shopify's cart and checkout
The customer clicks your store's normal Add to cart button. The kit goes into the cart with the customer's own design as its picture. They check out through Shopify like any other order, and Shopify handles the payment, tax and shipping. kitlab never touches the payment.
6. The order comes into kitlab
The order appears in your kitlab admin straight away, with the customer's details, their kit in 3D and every player on it. If you cancel or ship it in Shopify, kitlab updates too.
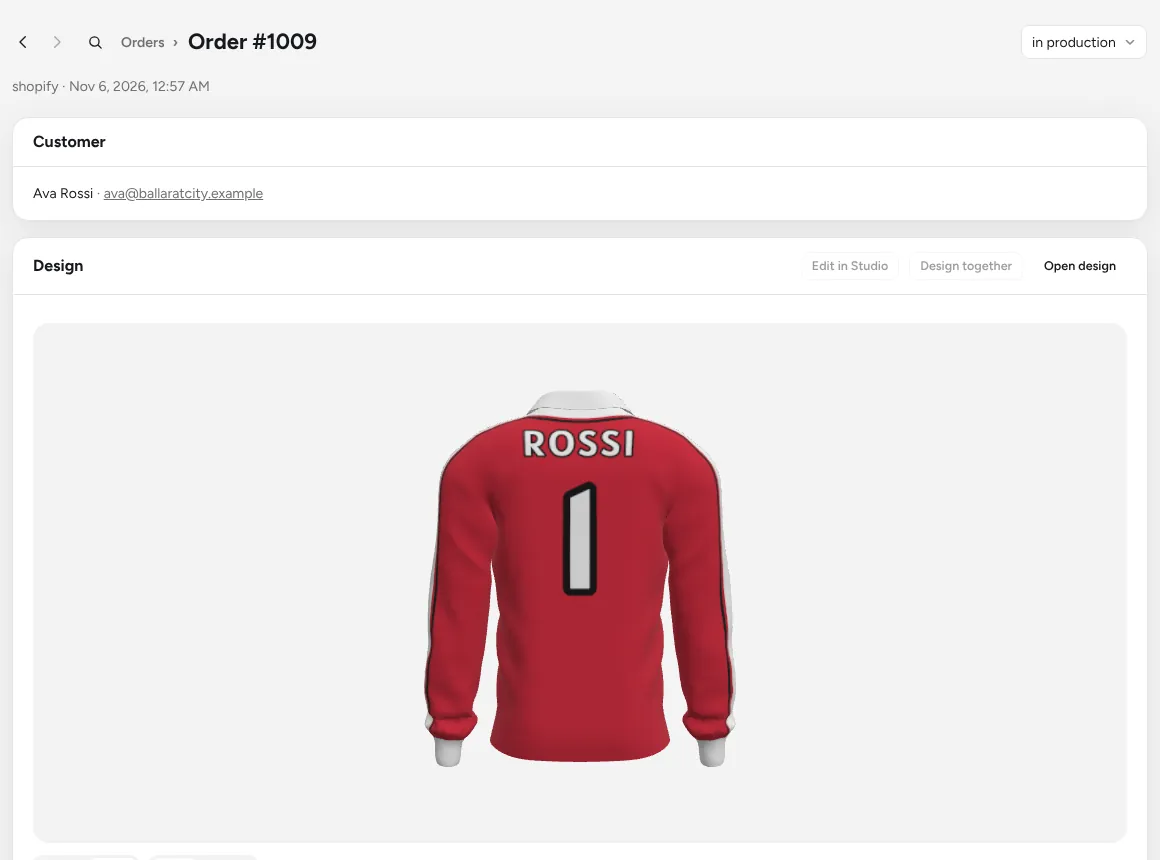
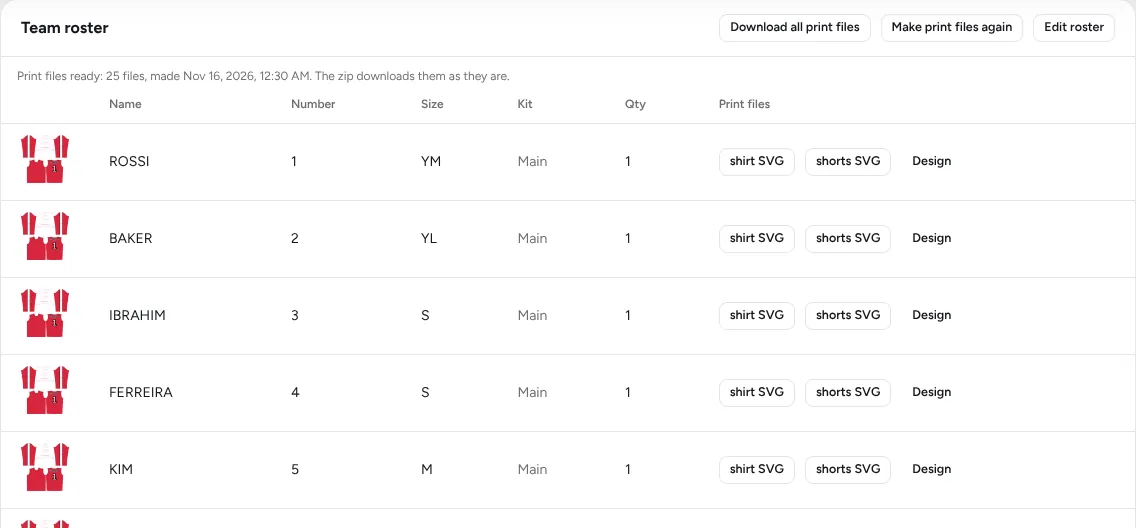
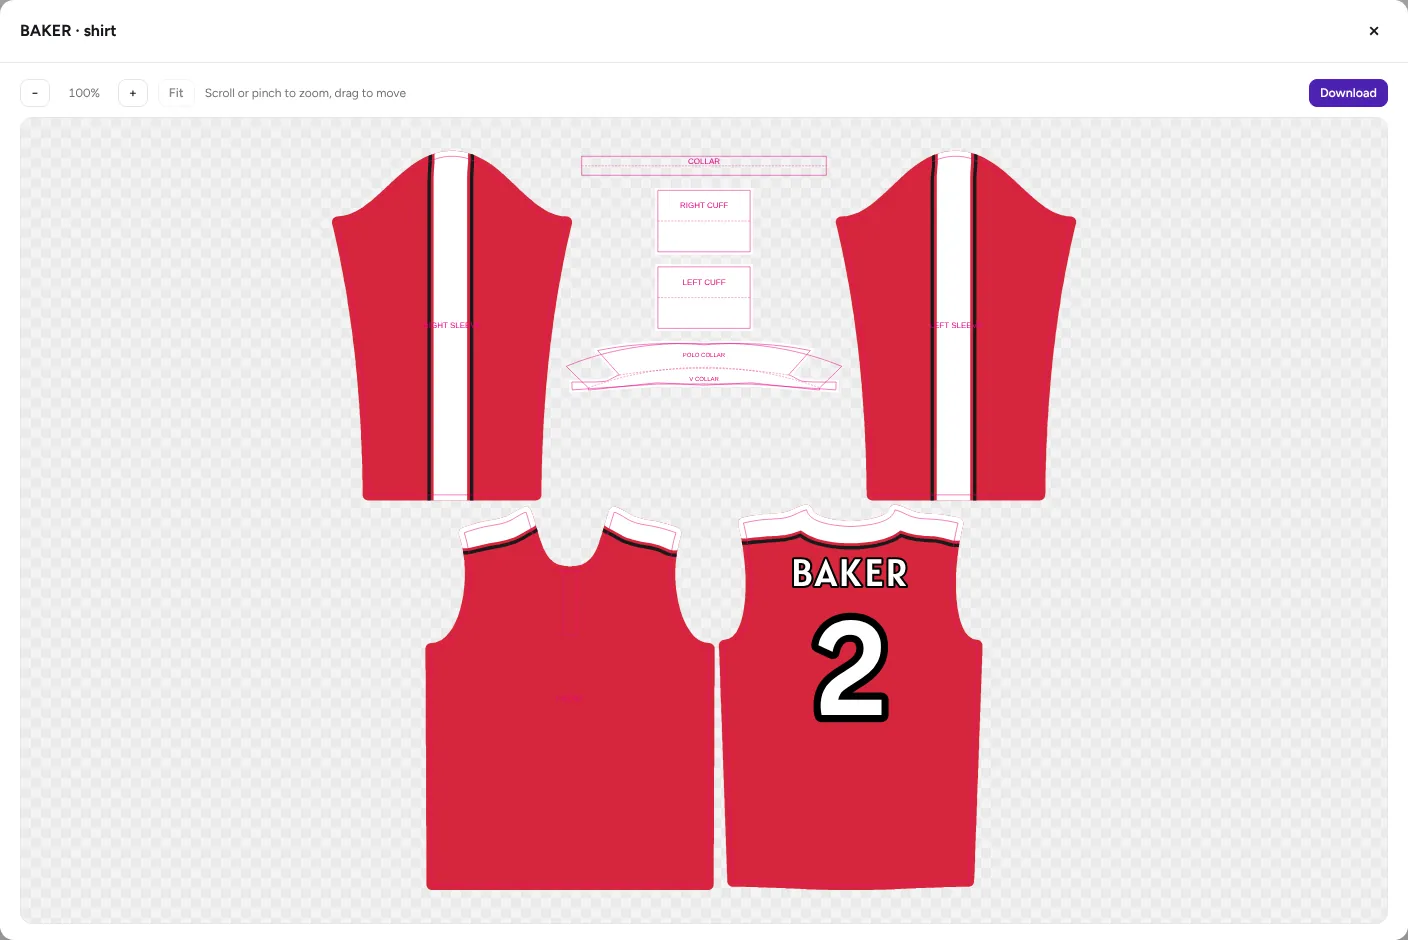
7. A print file for every player
Every order comes with print files ready to download, a set for each player with their name and number already on it, and sized to fit them if you want. You can get them as SVG, PDF, PNG or TIFF, set up the way your printer needs them, or on your printer's own patterns.
Not on Shopify?
kitlab works the same way on WooCommerce, BigCommerce, Magento, Wix, Squarespace and Neto, and on any other website. See the 3D jersey designer page, or pricing for what each plan includes. Plans start at $365 a month in Australian dollars.